Fast Bathtub Plunging in 3 Steps: First, remove standing water and seal the overflow with a wet cloth. Fill your tub with hot water until the plunger head submerges completely. Then perform 10–15 rapid, firm strokes directly over the drain at a 90-degree angle. Pull straight up to check for debris movement. Repeat this sequence 2–3 times. If water still drains slowly after plunging, hot water flushing or a drain snake will address tougher clogs that require deeper intervention.
Prepare Your Tub: Remove Standing Water and Access the Drain

Remove the Standing Water
Before using a cup plunger, bail out any standing water in the bathtub. Using a cup or bucket, remove the excess water and pour it down a nearby drain. This reduces resistance and improves the plunger’s suction power.
Check Your Water Level
Reassess the water level next. You need several inches of hot water remaining to submerge the plunger head completely. This creates a proper seal for unclogging.
Prepare for Plunging
With drain access clear and the right water level established, your bathtub is ready for plunging.

The Master Plunger S4 is perfect for kitchen sinks, bathroom sinks, floor drains, showers, or bathtubs.

Sanitary Technology Elastic Rubber Toilet suction bell, equipped with wood handle for optimum suction, pressure. Toilet Plunger for Bathroom fixing clogged Toilets and Drains. Funny birthday gifts for husband or Craftsmen plumbing system experts.
Set Up Your Bathtub Plunger: Seal the Overflow and Fill to Depth

Now that you’ve prepared your tub, it’s time to set up your plunger for maximum effectiveness.
Create Your Overflow Seal
First, seal the overflow with a wet cloth. This wet cloth seal creates the tight suction point you need for successful plunging. Press it firmly over the overflow opening.
Fill Your Tub Properly
Next, add hot water until it completely submerges your plunger head. You need adequate water depth to work effectively. The standing water should fully cover the plunger cup.
Position for Success
Position your bathtub plunger at a 90-degree angle directly over the drain. This 90-degree plunger positioning ensures a proper plunger seal. Your drain setup is now ready for the plunging technique ahead.

Universal Fit: Compatible with most standard bathtubs featuring a two-hole overflow design

Rigorously tested to ensure high Quality Bathtub Sponge Overflow Gasket.
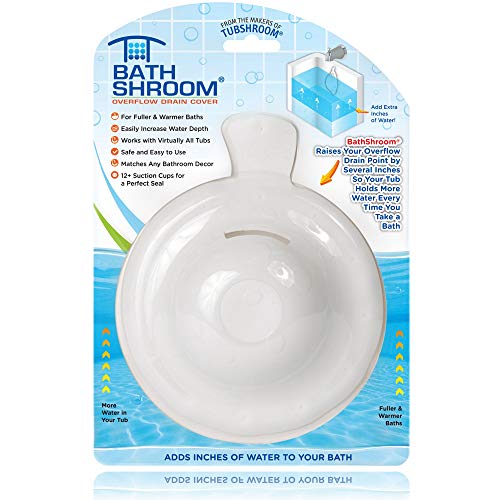
Overflow Drain Cover for Fuller and Warmer Baths
The 10–15 Stroke Plunging Technique That Works

What makes plunging actually work? The rapid pumping action creates pressure that dislodges clogs from your drain trap. Consistency and proper technique matter most.
| Action | Duration | Result |
|---|---|---|
| Position bathtub plunger | 30 seconds | Full seal created |
| Apply 10–15 rapid strokes | 30 seconds | Pressure builds |
| Pull straight up | 5 seconds | Debris lift check |
| Repeat sequence | 2–3 times | Drain improvement |
| Hot water flush | Ongoing | Material moves through |
Start your 10–15 stroke plunging with firm, quick pumps. Pull the plunger straight up to check for debris movement. If water drains better, repeat this sequence two or three times. Finally, flush with hot water to push remaining material through the trap.

【 Hot Water Heater Drain Valve Size 】 The thread inlet of water heater drain spout is 3/4 Inch MIP (Male Inlet Pipe), and the thread outlet is 3/4 lnch Male GHT (Male garden Hose Thread) 3/4 In. MIP X 3/4 In, 3/4" Full Port, Fast Drain, Remove large debris and easy to unclog

-Hot Water Heater Drain Valve uses a Full Port Flow Design :The hot water heater drain spigot is full prot high flow rated capability which can use for 250PSI WOG,This is a great that allows you to drain your water heater faster and easy.

For use when draining a sink or shower directly to the exterior of the unit using a bucket or portable holding tank
Why Plunging Fails and What to Try Instead

Sometimes your plunger just won’t work, and that’s okay. Let me help you figure out why.
Common reasons plunging fails:
- Overflow isn’t sealed – Water escapes, weakening suction
- Plunger isn’t fully submerged – You need water covering the plunger head completely
- Stopper remains in place – This prevents proper suction and reduces force
- Clog sits deeper in the trap – Beyond what plunging can reach
When plunging doesn’t work, try these alternatives:
- Use a drain stick to loosen gunk near the surface
- Switch to a plumber’s snake for deeper clogs
- After any method works, flush with hot water to confirm flow
Most clogs respond to one of these approaches.

TRUSTED BRAND: Drano Max Gel Drain Clog Remover is the #1 Selling Gel Drain Cleaner*. Avoid spending money on a plumber and use Drano.

Clear Sink Blockages Fast: Place the large opening of your kitchen sink plunger over your clogged plug pump it a two times. You'll clear more in 10 seconds than any other type of plunger.

【EXCELLENT LENGTH】Metal clog remover is 35.5 inches long with a claw extending from the top, which could easily insert to deeper pipes, and grab the blockage and hair. Drain snake is 25 inches long with tiny hooked teeth on it, which is perfect to insert and easy to pull out hair and blockage. Cleaning brush is bendable and durable for daily cleaning of pipe inner wall.
Know When to Escalate to Snaking or Call a Plumber

Your drain’s stubbornness tells you when it’s time to move forward.
Your drain’s stubbornness tells you when it’s time to move forward—know when to escalate beyond DIY solutions.
After 2–3 plunging attempts fail, don’t keep trying the same approach. You’re ready to escalate. Consider renting a drain snake or auger to tackle deeper clogs. These tools break up blockages your plunger can’t reach.
Warning signs mean call a professional:
- Your tub drain stays slow despite repeated plunging
- Multiple fixtures drain slowly or gurgle
- Clogs keep returning within weeks
These symptoms suggest a main line issue beyond your DIY limits. Continuing alone risks pipe damage and sewage backup.
Contact a professional plumber when you notice these red flags. They’ll assess your system properly and prevent costly mistakes. Early professional intervention avoids expensive repairs and system failure.
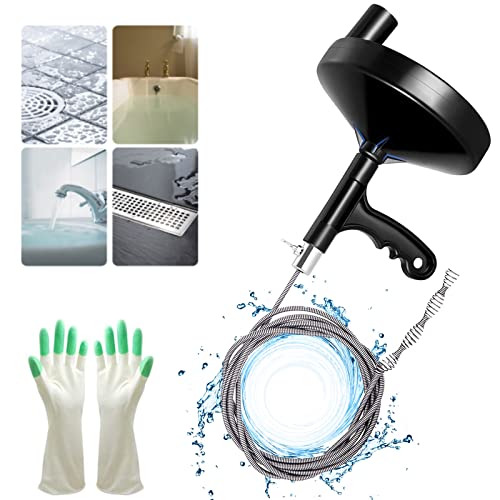
25 Ft of Flexible Steel Wire Easier to Reach Deeper Clogs: This professional plumbing snake drains auger comes with 25 ft of heavy-duty spring steel cable that goes beyond traps to remove most common household clogs. Highly effective drum auger for unclogging drains and keeping your drains flowing smoothly
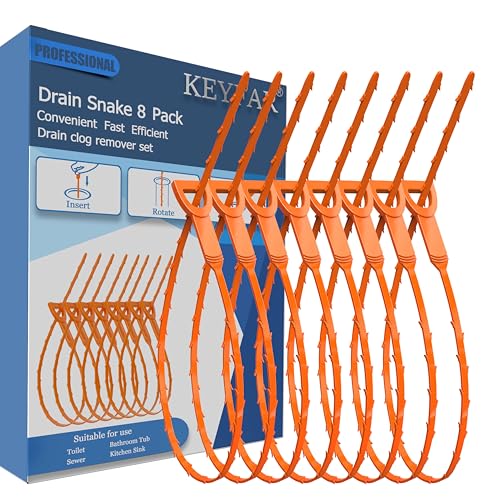
【VALUABLE COMBINATION】8 pack of drain cleaning snake will fulfill your need to remove hair and other blockage.

Compatible with Drains ≥ 1.5 cm Wide – Not for Narrow Pipes This drain clog remover is designed for household drains with an inner diameter of 1.5cm (0.6 inch) or larger. Please note: not suitable for extremely narrow or complex plumbing systems, such as tight U-bends or industrial pipes.
Prevent Future Clogs With Simple Drain Maintenance
Prevent Future Clogs With Simple Drain Maintenance
Maintain your drains regularly to keep clogs from returning after you’ve cleared them.
Easy Steps to Stop Future Blockages
- Remove hair regularly. Clear your drain stopper weekly, especially after showers.
- Install a hair-catching drain cover. This simple screen traps debris before it causes problems.
- Try the baking soda vinegar routine monthly. Pour ½ cup baking soda, then ½ cup vinegar. Wait 15–30 minutes, then flush with hot water.
- Skip chemical cleaners. Use mechanical unclogging instead to protect your pipes.
- Remember your overflow seal. When you plunge, seal the overflow with a wet cloth for better results.
Consistent drain maintenance prevents clogs from forming.
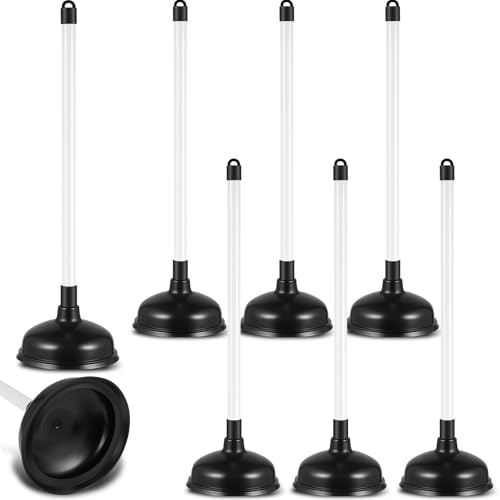
Sufficient for Needs: you will receive 6 pieces of heavy duty toilet plungers with long handle for bathroom in the package, which is enough for your daily use and replacement needs; You can place them in different rooms or share them with other people who need them

Ease of Use and Powerful Pump: Simply compress the air and pull the trigger to harness the power of high-pressure compressed air. This powerful toilet plunger can quickly blow away even the toughest blockages in the drain, clearing the blockage within seconds. It is much faster than traditional plungers and snake cleaners, saving you valuable time

High-quality ABS Material: The Pipe plunger is made of durable ABS material, which is of high strength and long lifespan, not easy to be damaged.