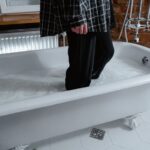
First, check your rug’s material. Wool and silk need acid dyes, while cotton works with fabric dye. Vacuum thoroughly and lightly mist with water.
Mix your dye with boiling water in correct proportions, stirring well.
Spray evenly in sections, avoiding puddles, then let it cure fully.
Finally, rinse outdoors, wash separately, and dry completely.
Test on a hidden area first to preview results.
Keep going to discover each step’s specific techniques for perfect color.
What You’ll Need to Dye Your Rug (and Why Material Matters)

Before you grab any dye from your local craft store, you’ll want to understand what your rug is actually made of.
Natural fibers like wool, cotton, and silk absorb dye beautifully. Synthetics like polyester don’t take dye as well. This matters because it affects everything you’ll do next.
- Wool/silk rugs need acid dyes specifically
- Cotton rugs work best with fabric dye
- Check your manufacturer’s instructions for your exact material
The current color of your rug also influences your results. Lighter rugs give you more flexibility. Darker rugs are trickier to dye over.
Before committing to the whole rug, always test your chosen dye type on a small, inconspicuous test area first. This prevents costly mistakes and allows you to see your actual results before proceeding.

Vibrant Color Payoff - This Jacquard dye creates intense and beautiful colors including a wide array of fluorescent colors. Experiment with different shades by using less dye and more water to create pastels, and more dye and less water for deeper, bolder colors

Use to color silk, wool and other protein fibers

Vibrant Color Payoff - This Jacquard dye creates intense and beautiful colors including a wide array of fluorescent colors. Experiment with different shades by using less dye and more water to create pastels, and more dye and less water for deeper, bolder colors
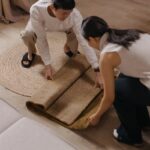
Prepare Your Rug Before Dyeing

Now that you’ve got the right dye for your rug’s material, it’s time to get your rug ready.
Start by vacuuming thoroughly. Remove all dirt, debris, and hair from every fiber. A clean surface helps dye absorb evenly and prevents spotty results.
Next, lightly mist your rug with water to dampen the fibers. This moisture helps the dye penetrate uniformly across your rug.
Prepare your dye solution based on rug size:
| Rug Size | Setup Method | Coverage |
|---|---|---|
| Small | Large container | Full submersion |
| Medium | Spray bottle | Even application |
| Large | Multiple spray bottles | Consistent coverage |
Don’t forget your gloves. Protect your hands and skin from staining. You’re ready to transform your rug with beautiful, even color.

This Package Contains One Box Of Dye

Eco-concious Choice For All Yogis: Handmade with 100% Organic Cotton, Gayo’s Conscious-crafted yoga mat is the equipment of choice of traditional yogis. No dyes nor harsh chemicals were added for the safety of your skin.
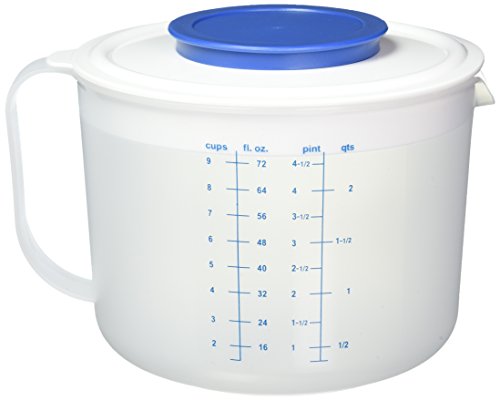
Choose and Mix Your Dye Solution to the Right Temperature

How you mix your dye makes all the difference in getting that perfect, even color. Following the package directions carefully sets you up for success.
- Mix dye with boiling hot water in a large, dye-tolerant container to improve pigment adhesion
- Add dye to water in correct proportions, then stir thoroughly for uniform color
- Heat-activate the dye as required by your specific dye type
Before starting, put on gloves to keep your fingers clean. The temperature matters; boiling hot water helps the dye bond better to your rug. Stir the solution well. More stirring produces better, more even results. The quality of this step directly affects whether your rug dye job looks professional or patchy.

Shake And Spray Simplicity: Skip the powder and the guesswork, because these fabric spray bottles come filled and ready with nothing to measure or mix.

Heavy Duty Spray Bottles: 16.9oz empty spray bottles with 2 pack heavy duty spraying bottles featuring mist and stream settings for cleaning solutions, plants, pets, essential oils, hair care, and cooking applications

Precision Lawn Marking: Maplefield Blue Spray Indicator Dye enhances lawn care by visibly marking treated areas with precision, ensuring no spots are missed. Compatible with any garden sprayer, it streamlines lawn maintenance efficiently
Spray Dye Evenly and Let It Cure
With your dye solution ready and properly mixed, you’re prepared for the most visible part of the process.
Applying Your Spray Dye
Use a spray bottle for even coverage across your rug. Follow this approach:
- Hold the spray bottle at a consistent distance from the surface
- Work in manageable sections to avoid pooling
- Apply steady, overlapping passes for uniform saturation
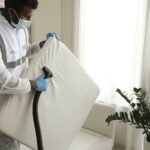
Protecting Yourself During the Dye Process
Always wear rubber gloves throughout the spray dye application. Work outside or in well-ventilated areas to manage fumes safely.
Allowing Proper Curing Time
After completing your rug dyeing, allow sufficient time for the dye to set. Let the dye cure for your desired color intensity before rinsing. Follow the manufacturer’s recommended curing time completely before using your rug. This step prevents color fading and ensures the dye bonds properly to the fibers.
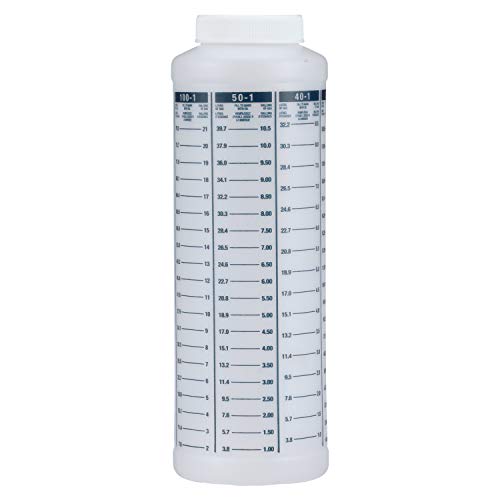
PRECISE MIXING MADE EASY: Clearly marked measurements help create accurate fuel-to-oil ratios for two-stroke engines
Measures: 6" x 8. 5" x 7" / 15cm x 21. 5cm x 18cm

ULTIMATE PRECISION WITH MULTIPLE RATIOS: Stop guessing! Our cups feature clearly graduated measurements in Ounces (OZ) and Milliliters (ML), plus 7 pre-printed mix ratios (1:1, 2:1, 3:1, 4:1, 5:1, 8:1, 10:1). Achieve precise, error-free mixing every time for professional results.
Rinse, Dry, and Check Your Color (Repeat If You Want It Darker)
Once your dye has cured completely, rinse away the excess color. Rinse your rug thoroughly outdoors until the water runs clear. This removes excess dye and prevents color transfer to other items.
Follow this rinsing and drying process:
- Rinse outdoors to control mess and protect indoor surfaces from staining
- Wash the rug alone in your washing machine to eliminate remaining dye
- Dry completely before evaluating the final color result
Once dry, check if you’re happy with the shade. If you want the color darker or adjusted, repeat the dyeing steps. You control your rug’s final appearance, so dye again until you reach your desired result.


Vibrant Color Payoff - This Jacquard dye creates intense and beautiful colors including a wide array of fluorescent colors. Experiment with different shades by using less dye and more water to create pastels, and more dye and less water for deeper, bolder colors

Vibrant Color Payoff - This Jacquard dye creates intense and beautiful colors including a wide array of fluorescent colors. Experiment with different shades by using less dye and more water to create pastels, and more dye and less water for deeper, bolder colors