
Check your sink for deep cracks or major leaks first. Next, clean thoroughly with bleach, sand with 220–320 grit paper, and mask surrounding areas. Apply 2–4 thin coats with a roller and brush, waiting 2–4 hours between coats. Don’t use your sink for 48–72 hours while it fully cures. Finally, maintain it with non-abrasive cleaners to keep the finish pristine. Proper surface preparation and adequate curing time directly prevent peeling and ensure long-lasting results.
Is Your Sink Ready to Paint?
Before you grab a paintbrush, check whether your sink can actually handle a fresh coat of paint.
What makes a sink paintable? Your sink needs three things: no deep cracks, no major leaks, and a surface you can clean and sand. Porcelain and enamel sinks are excellent candidates for painting. Stainless steel works too, but it requires specialty primer and risks chipping.
Prep is everything. Thorough cleaning removes dirt and grime. Then light sanding with 220–320 grit paper creates the adhesion your epoxy paint needs. This prep work prevents peeling.
Plan your timeline. You’ll need 2–3 days before using your drain again. Full curing takes 48–72 hours depending on your product.

Ideal for refinishing exterior metal surfaces including refrigerators, dishwashers, laundry machines and more

Wide Application - This touch up paint pen adheres to a wide range of surfaces, including tile, tub, bathtub, sink, enamel, porcelain and refrigerators. It allows you to easily repair scratches, stains, chips, spots, yellowing, and other surface paint imperfections

Wide Application - This touch up paint pen adheres to a wide range of surfaces, including tile, tub, bathtub, sink, enamel, porcelain and refrigerators. It allows you to easily repair scratches, stains, chips, spots, yellowing, and other surface paint imperfections
Prepare the Surface: Cleaning, Sanding, and Masking
Prepare the Surface: Cleaning, Sanding, and Masking
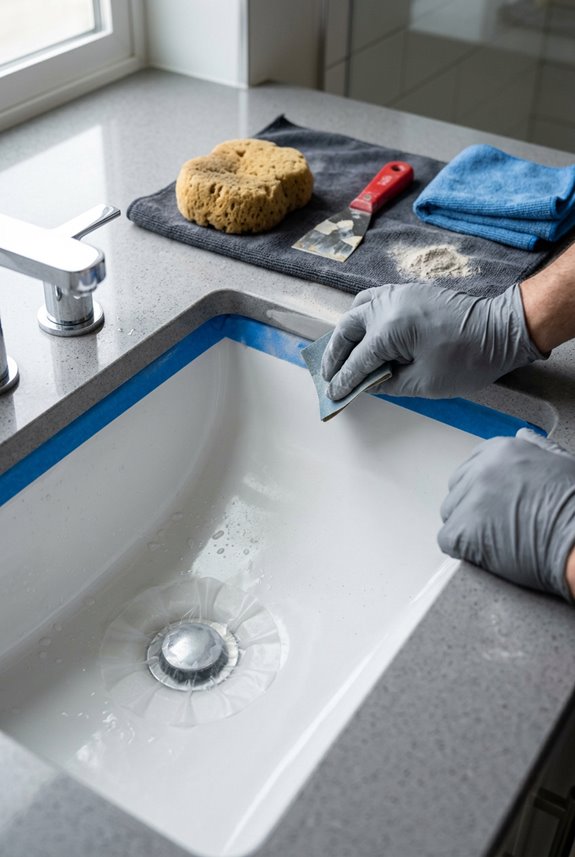
I start by scrubbing thoroughly with bleach or non-abrasive cleaner to remove oil and deposits that prevent adhesion. Next, I remove old caulk and rinse completely. Then I apply Lime-Away, scrub again, and rinse once more.
Sanding for Success
I sand the entire surface with 220–320 grit sandpaper using wet sanding when possible. This roughens the surface so primer adheres properly.
Masking Your Space
I cover surrounding areas with painter’s tape and drop cloths. I protect or remove faucets carefully.
Final Prep Steps
I wipe dust away with a microfiber cloth, then clean with TSP before priming. Proper surface preparation directly determines paint adhesion and finish quality.

Interior/Exterior use on new or previously painted drywall, concrete, wood, masonry, metal and glossy or difficult surfaces

Weather and corrosion resistant primer bonds tightly to exterior/interior surfaces like wood, metal, concrete, masonry and more to provide excellent adhesion for top coat

Designed to prime metal surfaces above the waterline
Paint in Thin, Even Coats
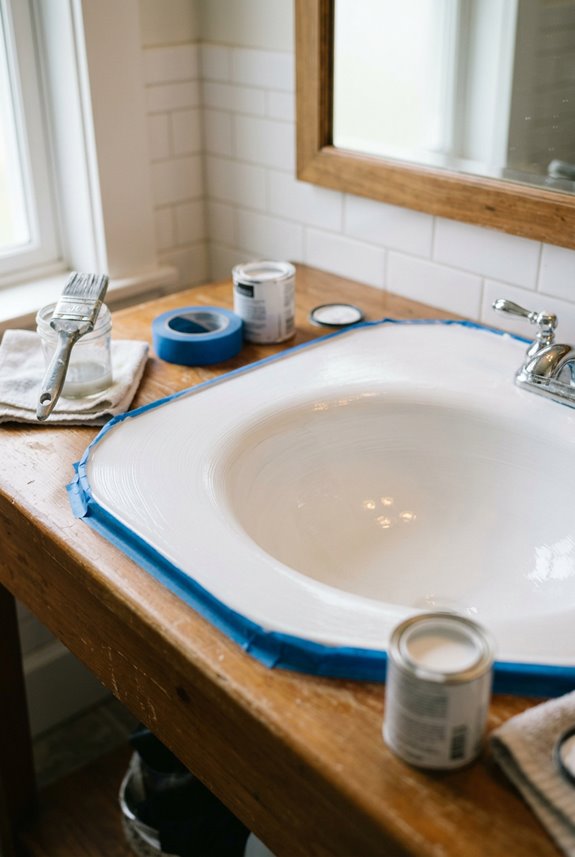
Applying the paint is where your sink transforms. Thin coats provide better results than one thick coat, delivering even coverage and stronger adhesion.
Application tips:
- Apply 2–4 thin coats total
- Use a 4″ roller for large areas
- Use a 1″ brush for edges and curves
- Keep each coat light and uniform
Between coats:
- Wait 2–4 hours between applications
- Check your kit instructions for exact timing
- This prevents runs and incomplete curing
Final step:
- Allow 48–72 hours for the final coat to cure fully
- Don’t use your sink until it’s completely hardened
Your prep work ensures success. Waiting the full curing time guarantees a durable, long-lasting finish on your bathroom sink.

Assorted Grit Sanding Blocks – This set includes 8 sponge sanding blocks (4 x 2.6 x 0.7 inches) in per 2 pcs of 120, 220, 320, and 400 grits, covering coarse to ultra-fine sanding needs. Color-coded for easy identification.

Assorted Grit Sanding Blocks – This set includes 4 sponge sanding blocks (4 x 2.6 x 0.7 inches) in 120, 220, 320, and 400 grits, covering coarse to ultra-fine sanding needs. Color-coded for easy identification.

High-Precision Abrasive Paper: This Shineboc 9x3.6 inch sandpaper set comes with 21 sheets of 320 grit sandpaper, providing ample supply for demanding sanding tasks
The Curing Stage: Why You Need to Be Patient
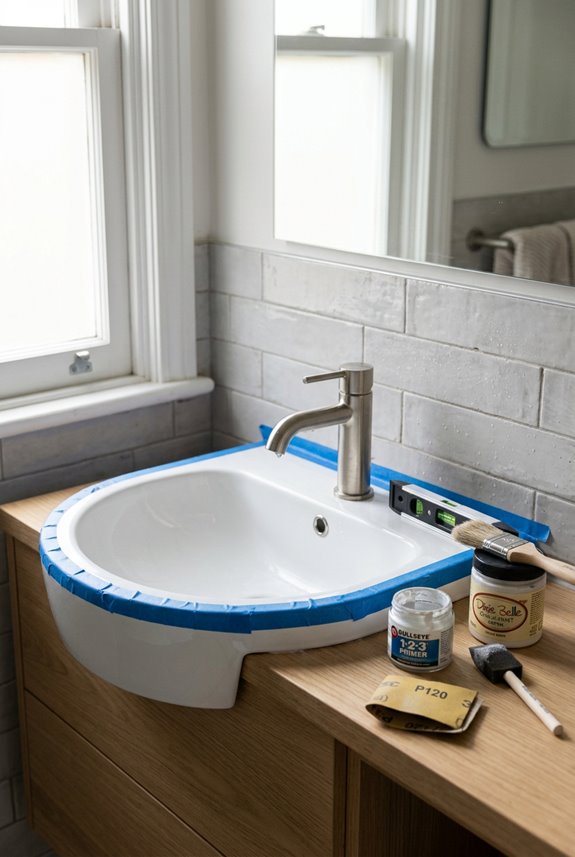
Once you’ve applied your final coat, the real work begins. Your epoxy paint or tub-and-tile spray needs proper curing time to harden completely. Wait 48 to 72 hours before light use, though full hardness takes several days.
What You Must Avoid During Curing:
- No water exposure on your freshly painted surface
- Skip using the sink entirely during this period
- Avoid significant cleaning or scrubbing
Optimize Your Curing Environment:
Ensure good ventilation in your bathroom to prevent solvent fumes from lingering. Keep temperature stable and moderate; this prevents gloss inconsistencies. Those thin coats you applied cure faster than thick ones would.
After curing completes, touch-ups during the cure-to-use transition protect high-traffic spots. Proper curing prevents peeling, discoloration, and premature wear on your newly finished surfaces.


Apply Tub and Tile Spray Paint to ceramic, porcelain or fiberglass including tiles, sinks and tubs

Ideal for refinishing exterior metal surfaces including refrigerators, dishwashers, laundry machines and more
Keep It Looking New: Non-Abrasive Cleaning and Touch-Up Tips
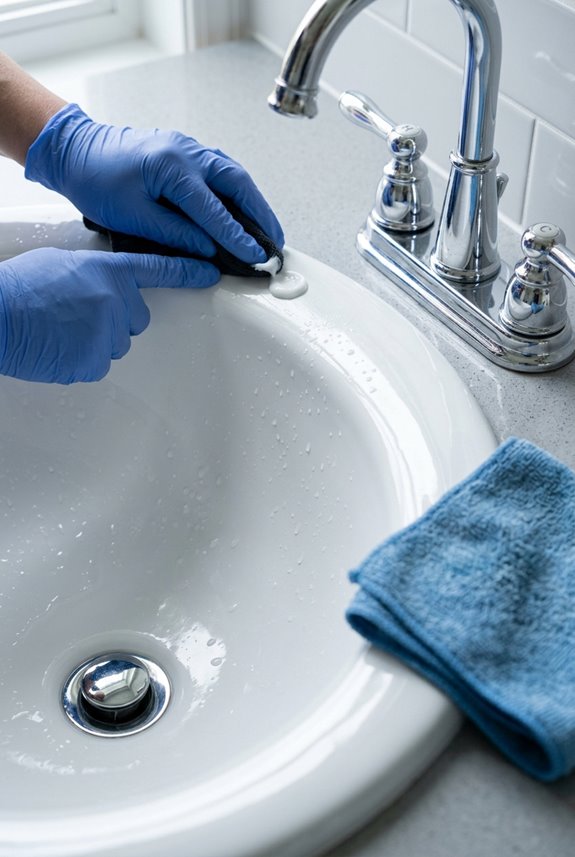
Your sink’s beautiful new finish requires proper care to maintain its appearance. Protect that epoxy coating and keep your bathroom sink looking fantastic.
Cleaning Your Painted Sink
Use only non-abrasive cleaners like all-purpose spray or Windex. Grab a soft sponge or microfiber cloth; never use harsh scrubbers. Clean gently with mild soap and water. Avoid aggressive brushing near edges and around the drain to prevent micro-scratches that dull your shine.
Use non-abrasive cleaners and soft cloths only—avoid harsh scrubbers to prevent micro-scratches and maintain your sink’s shine.
Maintenance and Touch-Up Tips
Wipe spills immediately to prevent moisture damage. Address any chips quickly with repaint touch-ups before problems worsen. Schedule regular maintenance every few months during routine cleaning.
This approach preserves color and adhesion while maintaining shine. A consistent routine keeps your sink looking new for years.

1.97 x 72 feet (use as 2') | .6m x 22m

【Masking Tape & Film 2 in 1 Convenience】This painter's plastic with tape is the cover for painting protection. It is used for masking and dust protection. Making it suitable for both automotive and home painting applications.

【Masking Tape & Film 2 in 1】Combines ¾-Inch painter's tape and plastic sheeting into one product, quicker and easier to apply than masking plastic film and tape individually, ideal for both automotive and home painting applications. Good alternative to plastic drop cloth.