
You’ll want to start by choosing between synthetic and natural grass based on your budget and climate. Then assess your yard’s terrain, drainage, and sunlight.
Next, excavate 3–5 inches of soil and compact a 4-inch crushed rock base to 90–95% density. Layer decomposed granite on top, then install interlocking base panels and prepare cup holes.
Roll out your turf, secure it with staples, and seal seams tightly. Finally, add cups and infill material.
Each step requires attention to detail for a functional backyard green.
Decide Your Grass Type: Synthetic or Natural
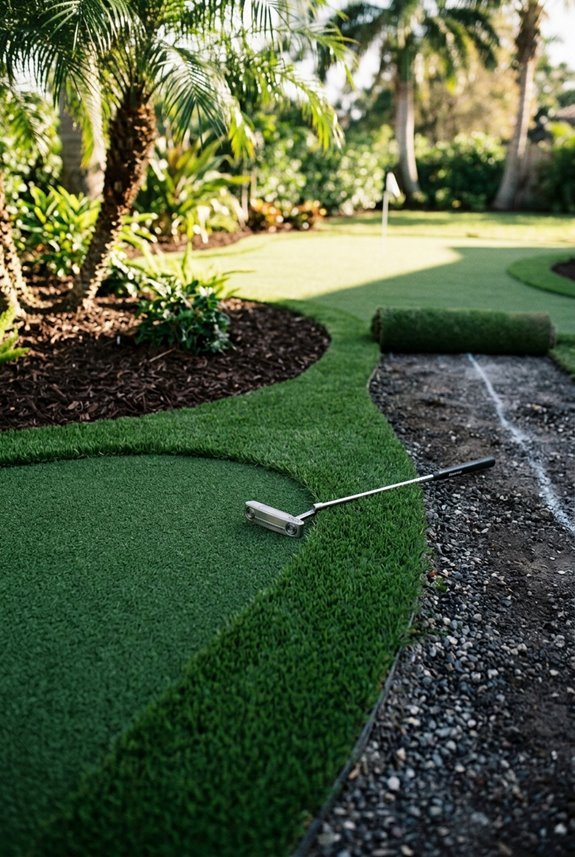
Consider your situation. Shaded yards and drought-prone areas favor synthetic options.
Budget is another key factor, as premium natural greens exceed $30 per square foot, while synthetic grass offers significant DIY savings.

indoor outdoor putting green mat golf grass mat fake grass mat outdoor synthetic grass fake grass thick golf artificial grass turf

Package Weight : 4.0 Lbs

Measures 5 Feet x 10 Feet Use: Putting Surface (Non Sand Filled) Non-Directional 100% NY-TUFF Nylon Yarn Tough, heavy-duty construction for durability UV stabilized yarns to resist fading from the sun Color-fast yarns that stay vibrant and bright Stain resistant Rolls 10 on the Stimp Meter 3 Precut Holes
Assess Your Site (Terrain, Drainage, and Climate)
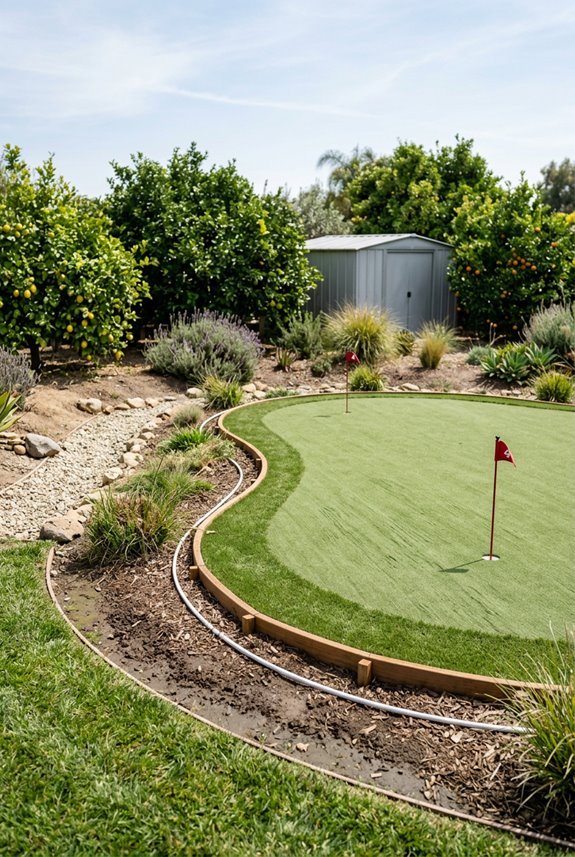
Before you break ground, walk your yard to understand what you’re working with. Your site’s terrain and drainage directly impact your green’s success and longevity.
| Factor | What to Check |
|---|---|
| Terrain | Slope no steeper than 3% |
| Drainage | Subsurface system beneath rootzone |
| Shade | Sun exposure throughout the day |
| Climate | Local rainfall and temperature patterns |
| Access | Equipment passage and grading space |
Key assessment steps:
- Measure your yard’s slope using a level
- Dig test holes to evaluate subsurface drainage capacity
- Track shade patterns across seasons
- Note irrigation water availability
- Confirm equipment can reach your chosen area
These elements determine whether synthetic or natural grass will perform better on your property.
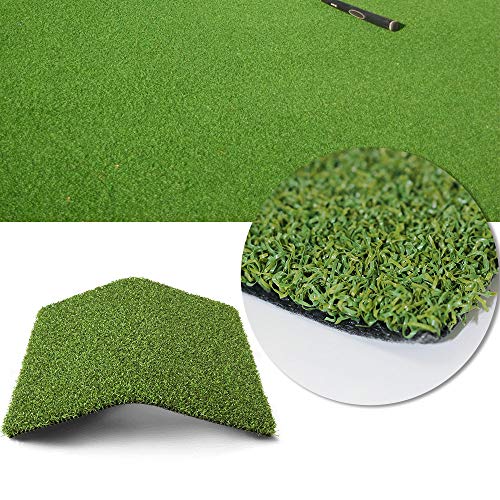
Premium Putting Green Grass: Grass height about 0.47" in length, It can thus withstand moderate to heavy traffic for rough play and performance. Each blade has a slight variation in color, dimension, and texture giving an even more natural appearance that will make your lawn the neighborhood favorite.
Quickly and effectively neutralizes pet odors left behind by urine, stool, vomit, and other organic soils.

Materials: Our faux grass is made of high quality synthetic material, Constructed of the highest quality polyethylene and poly polypropylene yarn, to ensure an extremely High-Density artificial grass.
Prepare and Level the Ground
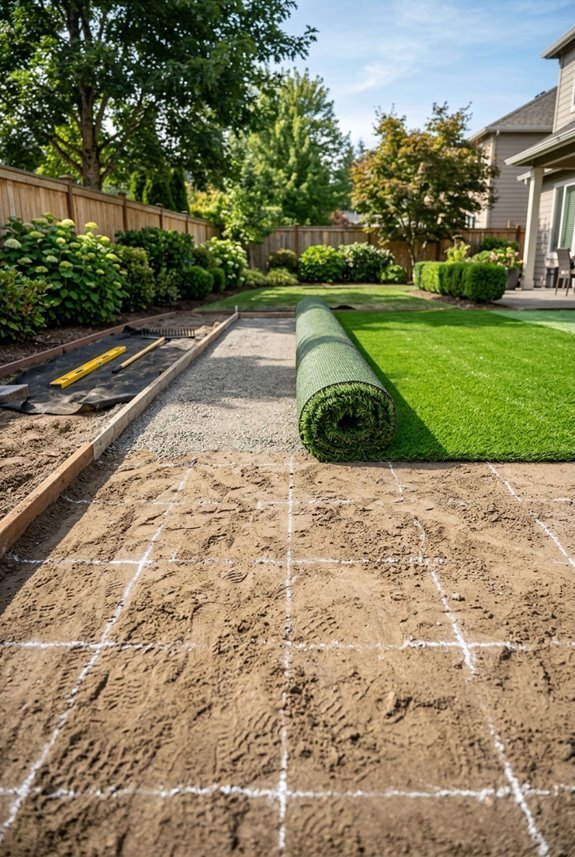
How’s your yard looking after the assessment? Now it’s time to get your hands dirty—literally.
You’ll want to excavate 3–5 inches of native soil from your chosen area. This removes existing grass and creates space for your base layers.
Excavate 3–5 inches of native soil to remove existing grass and create space for your base layers.
Next, you’ll build your compact base by filling in 4 inches of crushed aggregate. Compact it firmly to 90–95% density.
This creates a stable foundation that won’t shift under your feet.
Add a final 1/4 inch layer of decomposed granite on top. Compact it evenly across the entire surface.
This finishing layer provides the proper base for your putting green installation.
Proper ground preparation prevents settling and maintains playability over time.
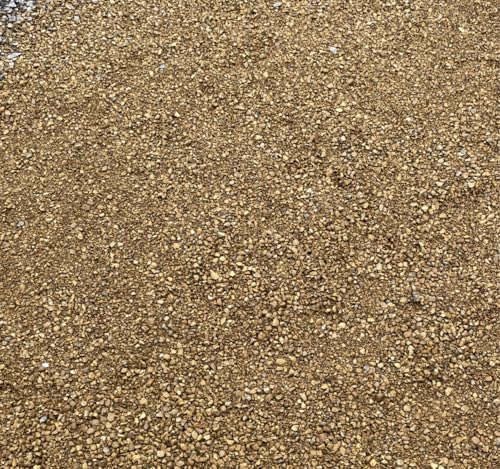
NATURAL DECOMPOSED GRANITE – Finely crushed natural granite with a warm, earthy appearance for pathways, patios, garden areas and landscaping projects. COMPACTABLE FOR...
Layer Your Compacted Base and Drainage
You’ve got your excavation done. Now comes the foundation that’ll keep your putting green playable for years.
Building a solid compacted base is essential for drainage and stability. Follow this process:
- Fill the excavated area with 4 inches of crushed rock and compact it to 90–95% moisture
- Leave about 1 inch of space before reaching the concrete edge
- Add a 1/4 inch layer of decomposed granite on top and compact evenly
- Attach seam tape around the perimeter using 5 inch non-galvanized nails every foot
The compacted base prevents water from pooling and keeps your green level. Use a plate compactor across the entire area for a stable surface.
Proper drainage moves water away from the green, protecting your investment. This foundation work ensures your putting surface stays firm and playable through every season.

Putting Green Indoor with Automatic Ball Return: Includes 1x golf putting mat, 1x high-quality golf club, 2 x golf balls, 1x electric golf ball returner (No batteries included), and 1x golf putting mirror. Our putting matt for indoors features a automatic ball return system, after an accurate goal, the catapult will bounce the ball back, eliminating the need to pick up the ball back and forth. You can get more indoor golf practice efficiently and gain the joy of playing golf

Hazard Putting Mat: bunker and water hazard help increase putting accuracy.premium mat prevents the mat from moving and give you a sports experience. Its compact design & lightweight structure makes it easy for you to carry it. Easy assembly and set up means that you can start playing in a jiffy!
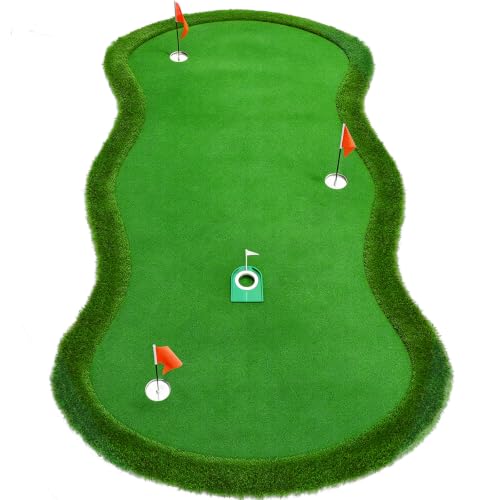
Real Green Feel----This golf putting green is made with advanced artificial turf materials and thoughtfully designed to replicate the feel and ball speed of a real golf course. Whether you're practicing your putting or short game, it provides an experience that’s as close as possible to being on an actual course. Whether indoors or outdoors, you can enjoy the true excitement of golf, offering a seamless and realistic practice experience wherever you are.
Install Interlocking Base Panels and Prep Holes
Now you’re ready to click those base panels together and set up your cup holes. This guide walks you through assembling the interlocking panels and preparing the spots where your golf cups will go.
A solid foundation ensures your putting green will perform well.

GFF Grass Flip Flops offer the highest quality synthetic grass sandals, allowing you to express your unique style whether you wear them daily or at the beach. They make fantastic gifts for men, women, and kids, and bring a touch of summer to your feet.

GOLF TRAINING MADE EASY: Enjoy professional grade golf training anytime, anywhere, on a soft, natural looking turf surface. Whether you’re a beginner or a seasoned pro, this golf mat allows you to practice your golf swing without the need for a golf course or club. Train from the comfort of your home or backyard all year long
indoor outdoor putting green mat golf grass mat fake grass mat outdoor synthetic grass fake grass thick golf artificial grass turf
Base Panel Assembly
The foundation of your putting green starts with careful panel preparation. Proper assembly ensures everything sits perfectly flat.
During assembly:
- Unpack all materials and stage them near your installation site
- Lay out numbered outer-edge base panels to form your perimeter
- Position center panels in approximate locations across the space
- Interlock all panels together securely
Use a garden hose to outline your green’s shape on the ground. This helps you visualize the final layout before committing to placement.
Once interlocked, your panels create a solid, level foundation. Check that everything sits flush with no gaps.
This sturdy base prevents settling and maintains consistent putting surface performance.
Cup Hole Preparation
With your base panels locked securely in place, you’re ready to install the cup holes. This guide walks you through the sleeve procedure step-by-step to complete this essential stage.
First, outline all hole locations on your base system. Then prepare an 8-inch diameter by 8-inch deep hole for each cup hole sleeve.
Use cardboard or tarp to contain the removed material and keep your workspace organized.
| Step | Action | Purpose |
|---|---|---|
| 1 | Drill four triangular drainage holes | Prevent water buildup |
| 2 | Back-fill with aggregate | Secure the sleeve |
| 3 | Cut geo-textile fabric | Create cup opening |
Next, set the sleeve by drilling drainage holes and back-filling with aggregate. Cut the geo-textile fabric along marked edges, then place the cup flush with the base surface.
Finish the area with aggregate back-fill for stability and drainage.
Roll Out and Secure the Putting Green Turf
How you lay down your turf will make or break your green’s performance. Follow this process to keep your putting surface solid.
Start by rolling out your pre-cut turf onto the base panels. Leave 16–18 inches of fringe hanging beyond the edges for trimming later.
Layout the fringe turf according to your installation plan with about 3 inches extending past each edge.
Roll out pre-cut turf onto base panels, leaving 16–18 inches of fringe for trimming and 3 inches extending past each edge.
Complete these steps in sequence:
- Cut seams with a utility knife to align them properly
- Staple the fringe edges to secure everything in place
- Use a carpet kicker to tighten the turf
- Roll seams with a seam roller for a smooth finish
Fasten the perimeter and center with staples. Your putting green is now ready for use.
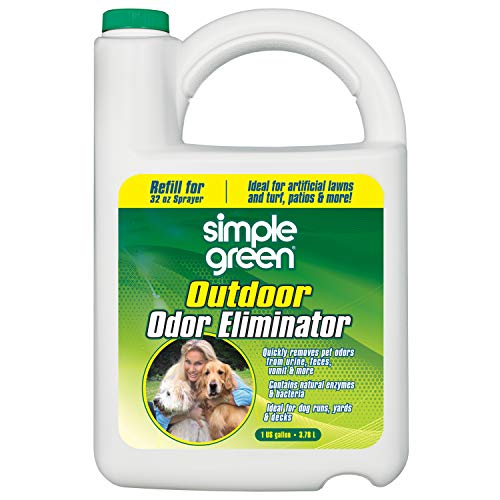
Quickly and effectively neutralizes pet odors left behind by urine, stool, vomit, and other organic soils.

Putting Mat: Enjoy the feel of playing on an authentic golf course from the comfort your own backyard - you won't be able to tell the difference while using our golf training mat; 1' x 2'

Quickly and effectively neutralizes pet odors left behind by urine, stool, vomit, and other organic soils.
Add Cups, Infill, and Set Up Maintenance
Now you’ll install the cup and add infill to complete your green’s playing surface. This guide shows you exactly how to set up your cups and establish a maintenance routine that keeps everything in top shape.
These final steps directly improve your putting green’s playability and longevity.
Cup Installation Essentials
Installing cups properly sets up your putting green for success. Follow this systematic approach to ensure your cups function perfectly.
- Dig an 8-inch diameter, 8-inch deep hole at each marked location
- Insert the cup sleeve and drill four triangular drainage holes for water management
- Back-fill with aggregate to secure the sleeve in place
- Align the turf so the hole area matches up perfectly with your cup sleeve
After the sleeve is installed, roll out your turf and lay the fringe around each hole. Pierce the center and cut an X toward the outer edges to trim the holes.
Then insert your flags. This careful setup ensures consistent ball drop and proper drainage around your cups.
Maintenance Setup and Care
Maintenance Setup and Care
With your cups installed and turf in place, you can set up a maintenance routine that keeps your green looking great for years.
Weekly Tasks
- Remove debris like leaves and twigs
- Sweep the surface gently with a soft broom
Monthly Maintenance
Synthetic greens need minimal effort. Check for algae growth in shaded areas and clean with mild soap if needed.
UV damage appears gradually, so inspect edges and seams regularly.
Infill Management
Sand-filled surfaces require occasional brushing to redistribute infill evenly. This maintains consistent ball roll and performance.
Annual Care
Assess drainage around the perimeter and check for surface wear spots. Proper maintenance extends your green’s 10+ year lifespan significantly.