
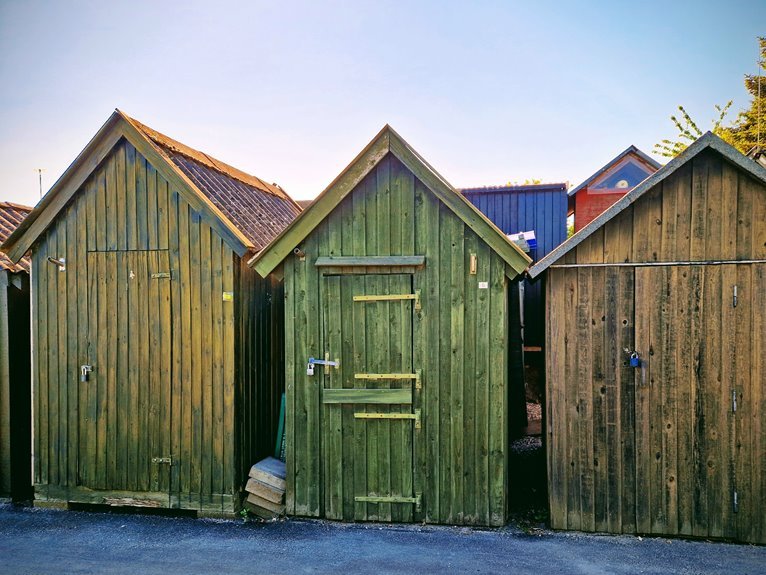
I’ll walk you through this straightforward process. First, clean thoroughly and repair damage. Second, sand surfaces with 120-150 grit and remove all dust. Third, apply your first paint coat using a 9″ roller for walls and an angled brush for edges. Fourth, paint trim and hardware details with precision brushwork. Fifth, let your paint cure fully for 2-4 weeks before using your shed. Follow these steps carefully to achieve professional results that transform your storage space.
Step 1: Clean and Prep Your Shed for Paint
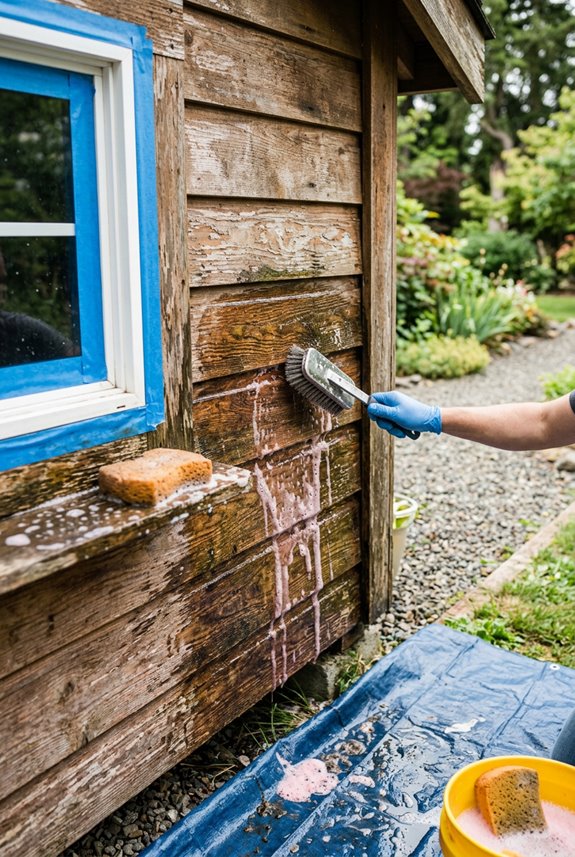
Proper exterior prep ensures your paint adheres correctly and looks professional. A paint job that lasts depends on thorough preparation; one that fails typically skips these essential steps.
Safety First
- Remove exterior electric fixtures
- Tape exposed wires
- Shut off power to the shed
Clean Thoroughly
Power wash the entire structure or use a hose with cleaner and stiff brush. Let everything dry completely.
Inspect and Repair
Check for damage like cracks, peeling, bubbling, and dry rot. Scrape off loose paint to expose bare wood.
Sand and Mask
Sand all surfaces with 120–150 grit using a sanding block. Apply masking tape and protective plastic to windows and platforms.
A clean surface is ready for paint primer.

Our no-shed microfiber roller covers ensure a perfect paint or stain finish for stunning results.

6 Paint Roller Covers : 1" White Polyamide Painting Roller Cover for Semi-Smooth to Rough surfaces for a great result. Perfect for painting the house the Paint Roller Naps are durable and long-lasting.

Bates paint roller frame comes in a 2 pack, providing reliable roller handles designed for smooth and efficient wall painting.
Step 2: Prep Your Shed’s Surface for Paint
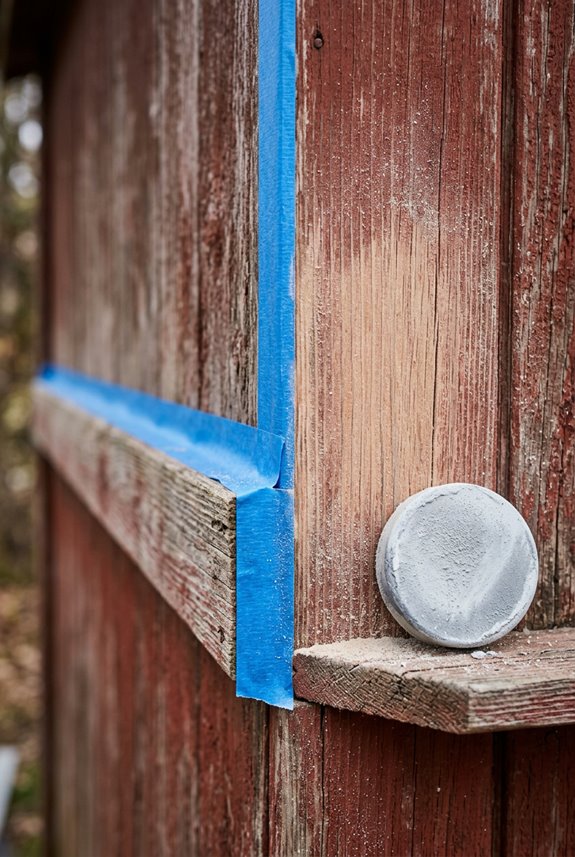
Before you can apply primer and paint, you’ll need to prepare the wood surface so the paint sticks properly and lasts for years.
Remove Loose Paint and Clean
First, use a scraper to remove any loose or peeling paint, exposing bare wood underneath. Then pressure wash the entire surface to eliminate dirt and debris.
Remove loose or peeling paint with a scraper, then pressure wash to eliminate dirt and debris for a clean surface.
Sand Everything Down
Next, sand all surfaces with a 120–150 grit sanding block, working in multiple directions. This creates texture that helps paint adhere better. Remove all dust with a power wash or thorough brushing.
Protect and Dry
Tape off hardware, windows, and the bottom platform for protection. Shield nearby plants with plastic drop cloths. Ensure the wood is completely dry before priming and painting.

Flexible purple Shergrip handle that measurers only 2 Inches long that adds maneuverability in tight spaces
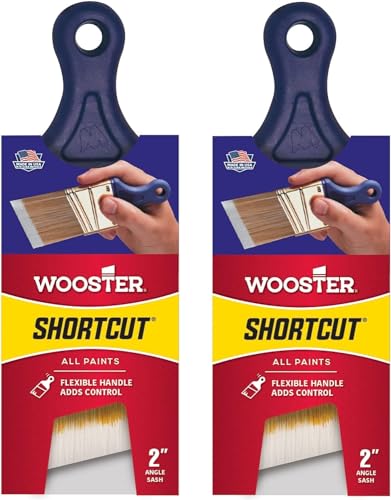
Pack of 2 | Flexible purple Shergrip handle that measurers only 2 Inches long that adds maneuverability in tight spaces

2 Inch Angled Paint Brush for Precision Cutting-In – Designed for clean, sharp lines around trim, baseboards, ceilings, corners, and detailed edge work. The perfect size for control and coverage.
Step 3: Apply Your First Coat of Paint
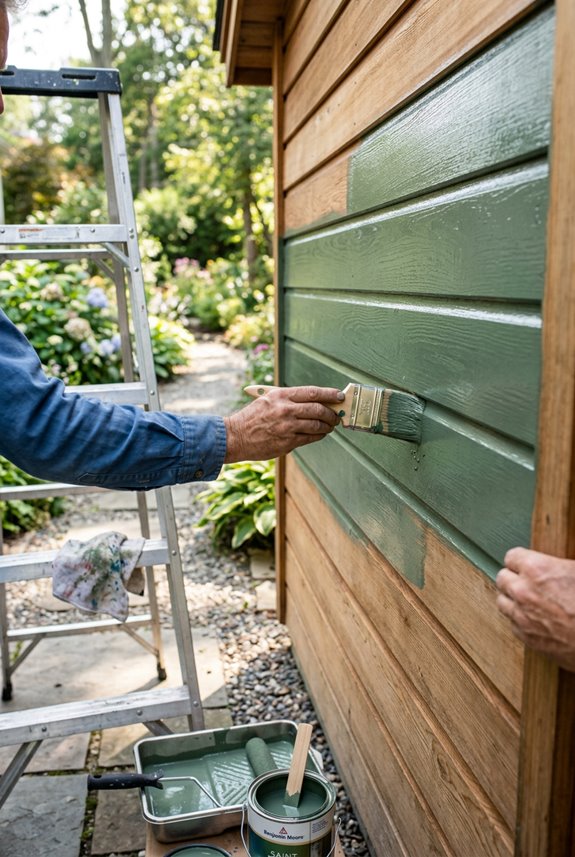
Now it’s time to bring color to your shed. Start by edging with a 2-3″ angled sash brush around all trim and corners. This creates clean lines for a professional look.
Next, roll the wall areas using a 9″ roller, working in 3×3 ft sections. For larger surfaces, use a Wagner FLEXiO sprayer with low spray width and material flow set to 6-7 for even coverage.
Key Application Tips:
- Cut in edges first before spraying
- Set spray width to low to reduce overspray
- Work systematically across your shed
After applying the first coat, allow it to dry completely per the label instructions. Then inspect for any misses or drips. This step ensures your second coat applies smoothly without addressing previous imperfections.

Use on wood, paint, metal, plastic or drywall.

120 Grits: Includes 8 sanding blocks (120 grit, medium), our sanding sponge is reusable, washable, and suitable for all your sanding needs
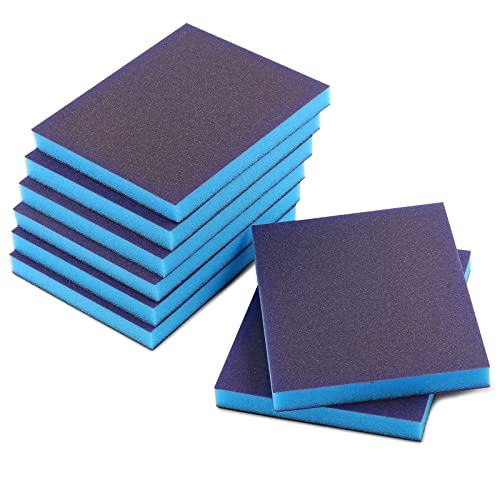
【Package Content】8 x Sanding Sponge. 150 Grits (Grade 400 to 500). Size: 4” x 4-3/4” x 0.5” / 100 x 120 x 13mm.
Step 4: Add Trim and Hardware Details
How do you make your shed look truly polished? The trim work separates amateur jobs from professional results. Quality brushwork on trim requires patience and the right approach.
My method for trim painting success:
- Remove hardware when possible for the cleanest finish and easiest brushwork
- Use painter’s tape on adjacent walls to protect them from trim paint
- Apply precision brushwork with a small, angled brush for clean edges
- Consider the spray method by taping hardware in place if removal feels overwhelming
I dedicate about 90 minutes to trim and hardware details. Using dark brown paint, I brush each piece separately for precision rather than spraying. Cutting-in around trim before broad spraying prevents messy overspray. This careful edging technique produces professional-looking, crisp trim on your shed.

Designed for interior and exterior surfaces

Get ultimate hiding power indoors and out with Zinsser Cover Stain Primer

Do it Best Exterior Oil-Based Wood Primer, EXT ALKYD WOOD PRIMER
Step 5: Let Your Paint Cure Fully
You’ve done the hard work. Now patience is essential. Your exterior paint cure isn’t finished when it’s dry to the touch. Allow your topcoat to cure fully before using your shed daily.
Curing Time Guidelines:
- Standard curing time: 2 to 4 weeks
- Duration varies by product and weather conditions
- Check manufacturer instructions for your specific paint
Protect Your Fresh Finish:
- Avoid moisture exposure during the full cure period
- Skip heavy use and activities in your shed
- Don’t store items inside yet
Final Steps:
Inspect edge lines after your two coats dry completely. Perform touch-ups where needed for a crisp, professional result. This final inspection ensures quality coverage.
Once fully cured, maintain your finish with periodic cleaning and timely touch-ups to preserve color and protection over time.

【Masking Tape & Film 2 in 1 Convenience】This painter's plastic with tape is the cover for painting protection. It is used for masking and dust protection. Making it suitable for both automotive and home painting applications.

1. Versatile Floor and Furniture Protection: More than just for painting, these durable plastic sheet protect floors, furniture, carpets, ceilings, wardrobes, and even cars from dirt and dust. Use them as furniture covers, rainproof outdoor covers, or to safeguard windows from weather damage

【ADHESIVE MASKING FILM 】After fixing the position of the plastic masking tape. When plastic sheeting protective masking film is covered, it can be freely attached to the surface of objects such as the automotive body、furniture and the wall surface to ensure complete protection.