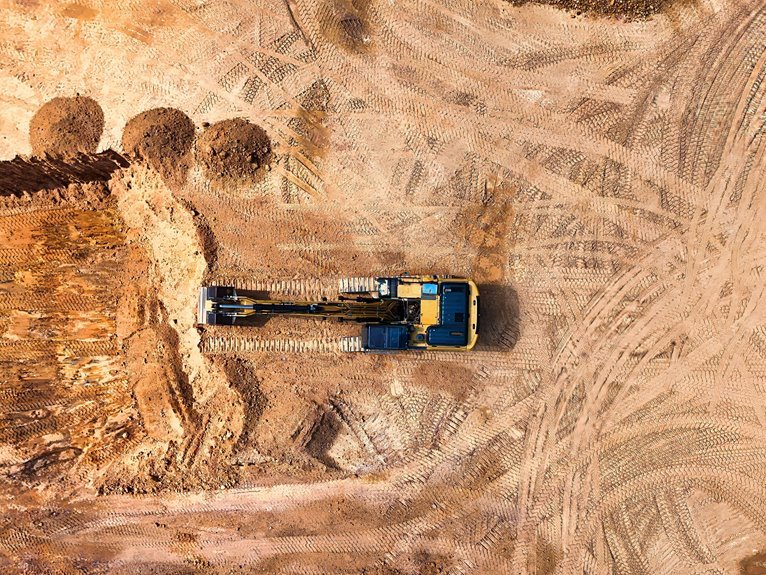
I’ll help you transform that sloped yard into usable space. Start by measuring your slope and mapping drainage patterns after rain.
Next, decide between flattening or terracing based on steepness and budget. You’ll need to plan structural support through walls, berms, or a hybrid approach.
Calculate costs and determine if you’re tackling this yourself or hiring help. Clear your site by protecting utilities and securing permits.
Then prepare the ground through grading and compacting within 1/2 inch tolerance.
Finally, monitor soil settlement and drainage for a full year to ensure the yard remains stable and functional.
Step 1: Measure Your Slope and Map Drainage Patterns
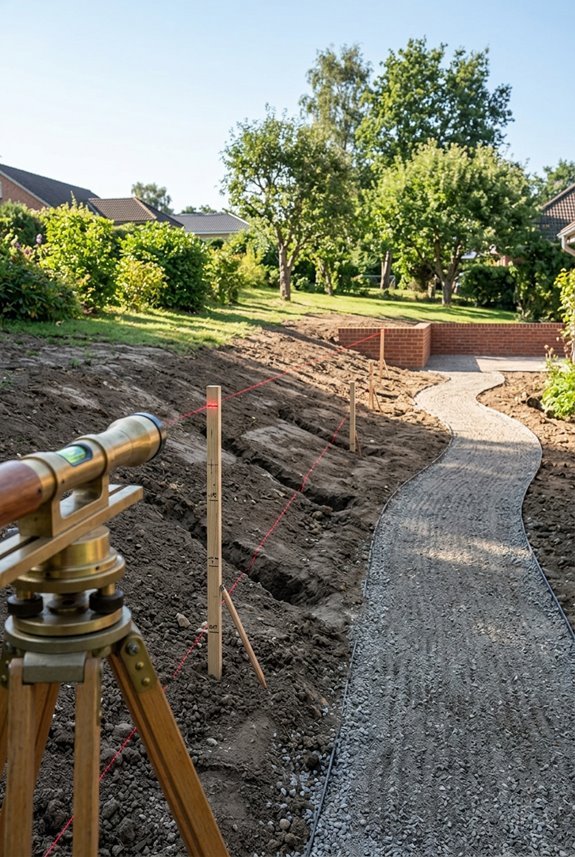
How steep is your backyard, really? Start by measuring the vertical drop over a set distance.
Use a level and measuring tape across your yard. This slope measurement tells you the percent grade, which is essential for planning.
Measure your yard’s vertical drop with a level and tape to determine percent grade—essential for any flattening project.
Next, map your drainage patterns. Walk your yard after rain.
Notice where water pools and where it flows fastest. These wet spots show you problem areas.
Why this matters:
- Steep slopes need more material to flatten
- Understanding drainage prevents future water damage
- You’ll know where to place terraces or solutions
Record the highest and lowest points. Note existing trees and structures.
This measurement and drainage information guides your entire flattening project forward.

Perfect For Adding Plants/Trees On A Steep Hillside: Measuring 40in wide by 14in high. Each set includes 6 oval-shaped Plastic sheets and 12 ground stakes, allowing you to easily plant flowers, vegetables, or trees on slopes to meet your DIY landscaping and gardening needs.

Perfect For Adding Plants/Trees On A Steep Hillside: Measuring 40in wide by 16in high. Each set includes 3 oval-shaped Plastic sheets and 6 ground stakes, allowing you to easily plant flowers, vegetables, or trees on slopes to meet your DIY landscaping and gardening needs.

Perfect For Adding Plants/Trees On A Steep Hillside: Measuring 40in wide by 14in high. Each set includes 3 oval-shaped Plastic sheets and 6 ground stakes, allowing you to easily plant flowers, vegetables, or trees on slopes to meet your DIY landscaping and gardening needs.
Step 2: Flatten or Terrace? Choose Your Approach
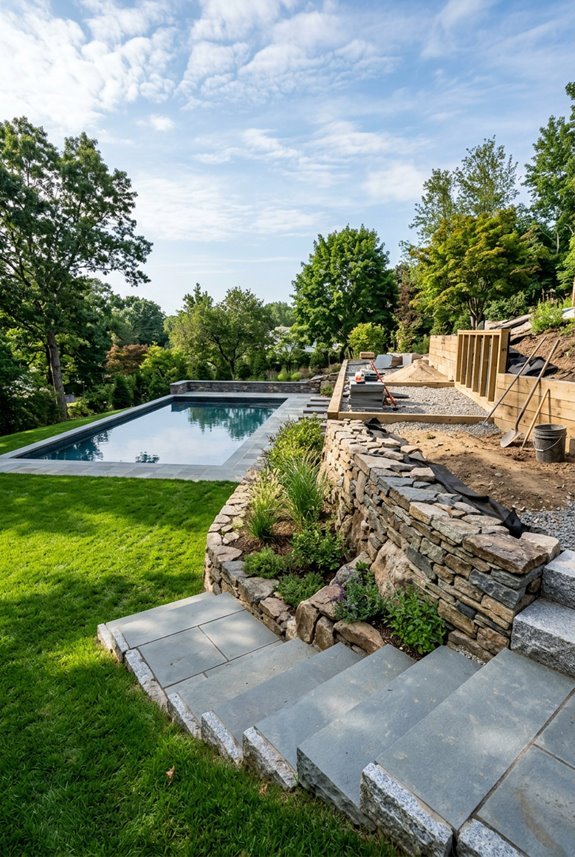
You need to decide whether to flatten your entire slope or build terraces instead. Both options work well.
Your choice depends on several key factors.
Consider these important points:
- Slope steepness – Steep slopes work better for terracing with retaining walls
- Budget constraints – Flattening costs more upfront than creating tiered garden beds
- Drainage needs – Terracing naturally improves water flow and prevents erosion
- Soil quality – Poor soil may require professional help with either approach
- Long-term goals – Mix both methods: flatten patios, terrace garden areas
A phased approach works well for sloped backyards. Flatten critical zones for patios first.
Then terrace other sections using rocks or timber. This maximizes usability while keeping costs manageable.
Professional involvement helps ensure proper drainage and structural integrity for complex walls.

4FT*50FT GEOGRID FOR RETAINING WALL:The geogrid roll has a width of 4 feet and a length of 50 feet.Each roll of geogrid weighs 8.2 lbs, ensuring it's lightweight and convenient for easy transportation.

DURABILITY: Geogrid for retaining wall is made of high-quality polypropylene, offering 100% UV and chemical resistance. It withstands photooxidation, acids, and alkalis, ensuring durability and stability in all climates.

Solid Durble Ground Grid: The ground grid paver is HDPE material, tensile, which is supersonically welded for durability. Perfect for driveway installations on slopes and/or flat areas
Step 3: Understand Structural Needs-Walls, Berms, or Hybrid Support
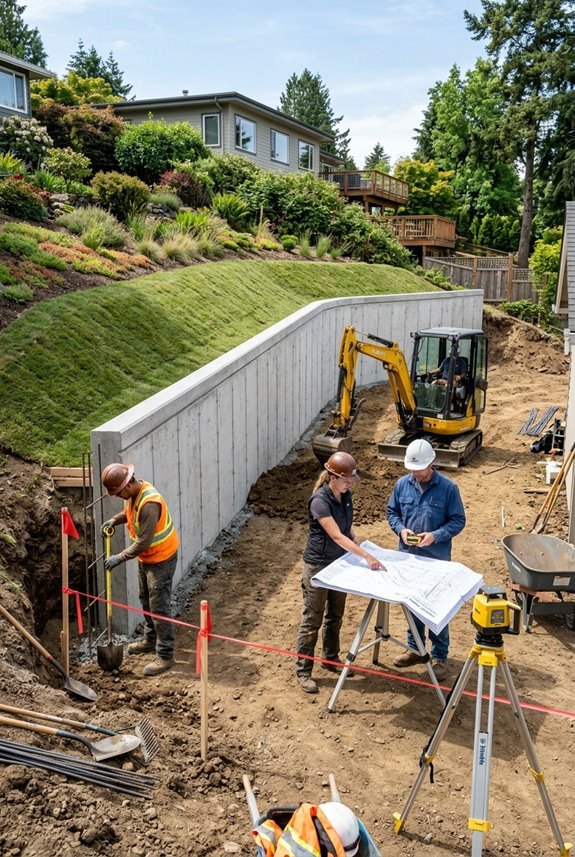
Once you’ve decided between flattening and terracing, you’ll need to choose how to support your new landscape.
Your Support Options
A retaining wall is your strongest choice for steep slopes. Concrete blocks, stone, or railroad ties work well depending on your budget.
These walls create flat spaces while handling slope stabilization effectively.
Berms work best for gentler slopes. Built with soil and plants, they blend naturally into your yard.
A hybrid approach combines walls with sloping garden beds to disguise uneven terrain while maintaining drainage control.
Drainage planning is essential. Water pooling at your wall’s base causes erosion and structural damage.
For complex installations, consult a professional to ensure your solution prevents flooding and remains stable long-term.

RELEASE WATER AWAY FROM PROPERTY: Capture water upstream and carry it away from structures and poor drainage areas to discharge with the pop-up emitter positioned downstream
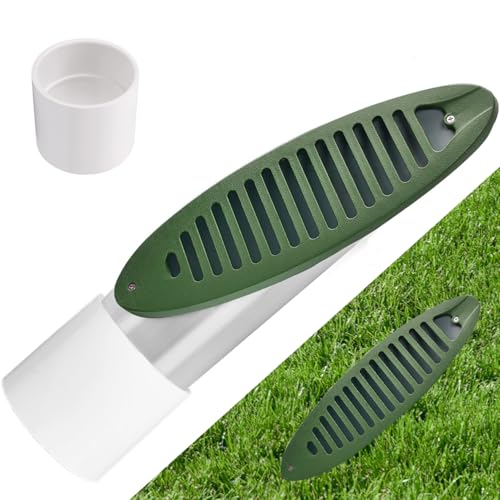
【 Easy to install 】 The Yard Drain Emitter is combined with a 4-inch connector, eliminating the hassle of finding an adapter. This combination is suitable for 4-inch drainage pipes and provides a perfect connection. Please check if your drainage pipe has an inner diameter of 4 inches/outer diameter of 4.5 inches

Step 4: Calculate Real Costs and DIY vs. Hire-Out Decisions
Now that you’ve mapped out your walls and support structures, it’s time to figure out what this project will actually cost you.
You’ll need to compare material prices, labor expenses, and decide whether you can handle the work yourself or need to bring in professionals. Getting these numbers right and being realistic about your skills will prevent expensive mistakes.

SAFE, ORGANIC SOIL FOR VEGETABLES AND EDIBLE HERBS: Made without peat, synthetic fertilizers, or fillers - biochar, compost, worm castings, mycorrhizae, and pine bark fines give your tomatoes, peppers, leafy greens, and herbs clean, food-safe ground to grow in
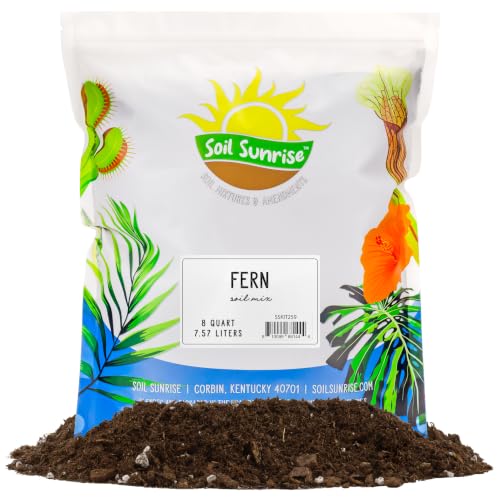
Custom Blend: Hand blended in small batches, no artificial ingredients or fertilizers; regular house plant soil is not designed for ferns!

ONLY ORGANIC COCO COIR ENHANCED WITH NUTRIENTS! We are the ONLY Organic Coco Coir that contains enhanced nutrients. Ours coconut coir includes worm castings, mycorrhizae, kelp, and more to encourage faster, healthier growth! Feeds your plants for up to four months!
Material and Labor Expenses
How much will your backyard project really cost? Expenses vary based on your choices and scope.
- Retaining walls: Cost increases with height and length; materials range from rocks to concrete blocks
- Drainage solutions: Proper grading and erosion control prevent costly flooding and soil loss later
- Labor vs. DIY: Hire professionals for structural walls and drainage; save thousands doing deck painting yourself
- Material quantities: Professional CAD planning helps estimate exact needs before requesting bids
- Budget distribution: A typical Phase 1 project runs $22,000; patio ($17,000), swingset ($3,000), mulching ($500), deck work ($200)
Getting accurate quotes requires understanding your slope’s drainage needs and retaining wall requirements. This planning prevents cost overruns and ensures your investment protects your new flat space long-term.
DIY Feasibility Assessment
Before you commit to tackling this project yourself, assess what you can handle and what really needs professional expertise.
Know Your Limits
Simple grading and patio installation might work for gentle slopes. However, complex drainage systems and retaining-wall construction demand specialized skills and equipment.
Improper drainage causes flooding and structural failures. Professional crews have compaction tools you cannot rent cheaply.
Compare Your Costs
DIY paver patios cost considerably less than hired contractors. Yet professional installation includes drainage corrections and permits.
A Phase 1 project totaled $22,000; patio alone cost $17,000.
Consider a Design First
A CAD design package clarifies what’s realistic for you. You’ll see exactly where grading occurs and retaining-wall placement matters most.
This self-assessment prevents costly mistakes.
Professional Service Pricing
Once you’ve assessed what you can handle yourself, it’s time to crunch the numbers. Professional service pricing varies considerably based on your sloped yard’s complexity.
You’ll encounter these costs:
- Retaining walls and drainage work: Hire professionals to prevent costly flooding issues
- CAD design packages: Expect $500–$1,500 for detailed landscape plans
- Patio installation: Budget $17,000+ for quality paver work like Belgard Holland Savannah
- Multiple quotes: Obtain three estimates from contractors to compare professional pricing
- Smaller contractors: Consider newer firms for competitive rates without sacrificing quality
My Phase 1 cost totaled approximately $22,000. Drainage professionals prevented water damage that would have cost thousands in repairs.
Some tasks like deck painting you’ll save money doing yourself. Balance professional expertise with strategic DIY choices to maximize your budget.
Step 5: Clear the Site-Utilities, Permits, and Erosion Prevention
You’re getting close to the demanding work, and that means it’s time to prepare your site carefully. Before any digging begins, you’ll need to complete three critical tasks.
Identify and Protect Utilities
Call your local utility locating service to mark underground lines and cables. This protects you from dangerous accidents during excavation.
Obtain Required Permits
Check with your local jurisdiction about permits for grading, retaining walls, and drainage changes. Getting approvals upfront prevents delays and complications later.
Plan Erosion Prevention
Install silt fences and temporary stabilization measures before grading starts. These prevent sediment from washing away during construction.
With utilities protected, permits secured, and erosion controls ready, you can proceed with grading work.
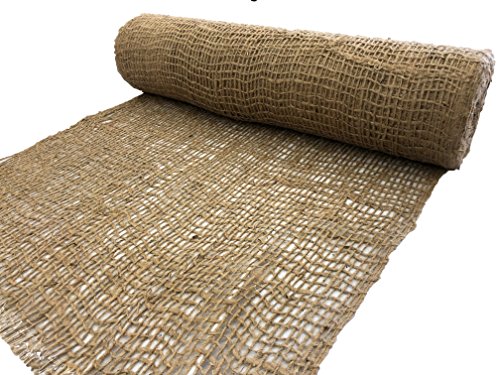
Premium Jute Construction: Our Soil Saver Erosion Control Fabric is made from premium-quality jute, a natural and biodegradable material renowned for its superior erosion control capabilities. Crafted with meticulous attention to detail, this 48-inch wide and 20-yard long fabric ensures a sturdy, reliable solution for preventing soil erosion.

Protect your yard and garden with our biodegradable erosion control fabric, made from natural jute fibers

LONG-LASTING EROSION CONTROL WITH COIR FIBERS: Made from dense coconut coir fibers, this erosion control mat offers 2–5 years of soil retention on steep slopes, water edges, and environmentally sensitive zones.
Step 6: Prepare the Ground-Grading, Compacting, and Leveling
Once you’ve cleared your site, you’re ready to tackle the actual grading and leveling work. You’ll learn how to assess your current grade and compact the soil properly so your flattened yard stays solid and stable.
These two techniques work together to produce that perfectly level surface you need.


✅【Retaining Wall Fiberglass Geogrid】The Retaining Wall Fiberglass Geogrid boasts a reliable tensile strength of 50 KN, whereas plastic geogrids fail to provide tensile strength or soil reinforcement. Our Fiberglass Geogrid is specifically designed for slope reinforcement and crack control in asphalt and concrete pavements.

☺【Upgraded Polyethylene Material】Geo grid is made of upgraded 5 CM (2 IN) thickened HDPE, which can be upgraded to fit any type of aggregate or filler, sand, grass, stone, cobblestone, and can be covered on over soft soil、expansive soils, asphalt, concrete, to reinforcement all kinds of ground.
Soil Compaction Techniques
How does soil actually get stable enough to support a level yard? You’ll compress the earth in layers to create a solid foundation.
I use these soil compaction techniques to build strength:
- Achieve 85–95% maximum dry density using a Proctor test to measure success
- Reduce moisture to 10–15% before compacting each layer
- Compact in lifts no thicker than 4–6 inches across the entire slope flattening area
- Monitor soil moisture carefully. If it sticks to equipment, aerate or dry it first
- Verify surface tolerance within 1/2 inch over 10 feet with a laser or string-line
A plate compactor or jumping jack works well for even pressure. I avoid bridging and voids by working consecutive lifts across the whole surface.
This prevents future settling and keeps your yard level.
Grade Assessment Methods
Before I can compact or level your yard, I need to know exactly what I’m working with. I’ll start with a precise survey to identify existing slopes, high points, and low spots.
This assessment determines how much soil to cut or fill.
I’ll map out drainage directions to understand where water naturally flows. This information helps me plan proper drainage channels that route water away from your home.
Next, I’ll establish reference points across your yard using a laser level or long straightedge. These tools verify consistent grading and show the true slope.
Finally, I’ll note any problem areas where erosion might occur. Understanding your yard’s current condition determines the success of the ground-grading and leveling plan.
Step 7: Track Soil Settlement and Drainage Over Your First Year
Your work isn’t finished when the last shovel hits the ground. Monitor your newly flattened yard throughout that essential first year.
Track these key items:
Your work isn’t finished when the last shovel hits the ground. Monitor your newly flattened yard throughout that essential first year.
- Mark fixed points at the top and bottom of rebuilt areas to spot soil settlement quarterly
- Install drainage systems like grates, underdrains, or swales to direct water away from your foundation
- Expect initial settling within 6–12 months, especially around retaining walls or patios
- Run surface grading surveys after heavy rain to confirm slopes maintain positive drainage without pooling
- Document soil moisture and compaction after major rain events to adjust amendments as needed
Consistent monitoring protects your investment by catching drainage problems early and preventing structural issues from soil movement. These checks ensure your flattened backyard remains stable and properly draining for years to come.
Solid Durble Ground Grid: The ground grid paver is HDPE material, tensile, which is supersonically welded for durability. Perfect for driveway installations on slopes and/or flat areas
Solid Durble Ground Grid: The ground grid paver is HDPE material, tensile, which is supersonically welded for durability. Perfect for driveway installations on slopes and/or flat areas
Solid Durble Ground Grid: The ground grid paver is HDPE material, tensile, which is supersonically welded for durability. Perfect for driveway installations on slopes and/or flat areas